Home Wine Tasting in 5 Steps: Research Backed, Beginner Friendly

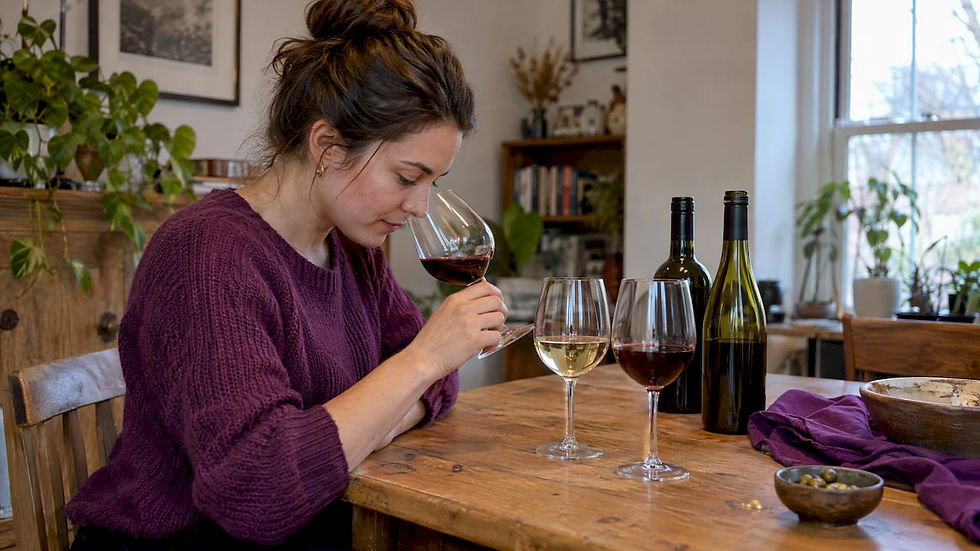
Yes, you can absolutely host a great home wine tasting, and it’s way easier than you think. Grab 4 to 6 wines around one fun theme, line them up light to full-bodied, and set out glasses, water, and simple score sheets. Then just work through each pour the same way every time: see, swirl, smell, sip, and jot down what you notice.
Table of Contents
What you need and how to set up the space
You don’t need a fancy cellar or a sommelier certificate to pull this off. A clean table, decent lighting, and a few basics will get you most of the way there.
Glassware: one glass per wine, or two if you want side-by-side comparisons without rinsing.
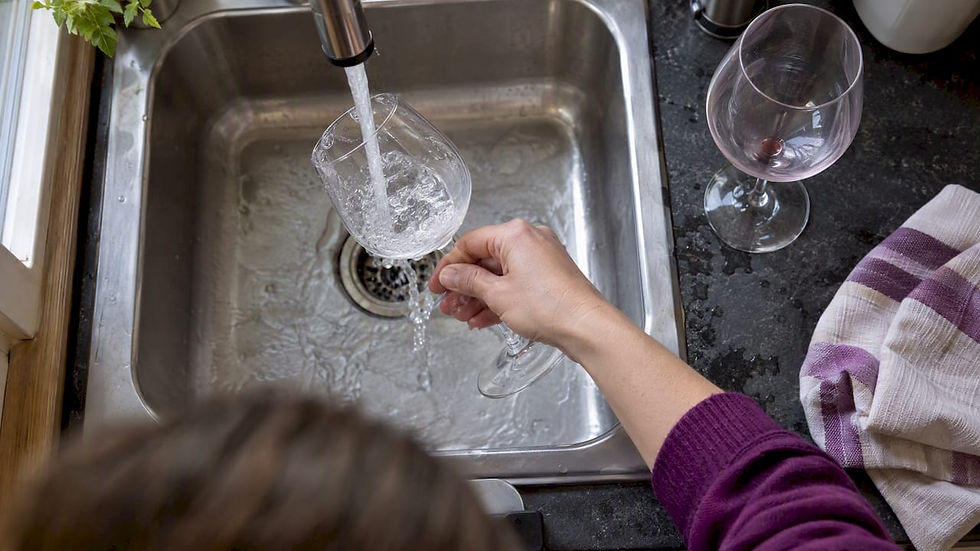
Water: for rinsing glasses and for palates, poured generously.
A spit or dump cup: not glamorous, but every serious tasting has one.
Pens and tasting sheets: simple grids work better than blank paper.
Neutral lighting: skip the scented candles and colored bulbs, they mess with how wine looks and smells.
Set up a serving station away from the tasting seats so bottles don’t crowd the table, according to enology extension guidance. If your glassware collection is thin, half-bottles and pre-poured samples stretch your budget without shrinking the fun. Check out this minimalist wine tasting setup if you’re working with limited space or gear.
Choosing a flight: how many wines and what theme
A flight is just your lineup of wines, and picking a smart one makes the whole evening click. The theme gives your group something to talk about besides “I like this one.”
Varietal flights: same grape, different producers or regions, great for spotting house styles.
Regional flights: same country or appellation, different grapes.
Vertical flights: same wine, different vintages.
Horizontal flights: same vintage, different wineries.
Budget-versus-premium flights: a cheap bottle next to a splurge, same grape.
For a short session, 3 to 4 wines keeps things tight. Most home tastings include a moderate number of wines, which extension research notes is enough variety without overwhelming the palate. Experienced tasters can taste more if desired. Whatever you choose, pick wines with real contrast. Two nearly identical Chardonnays won’t teach anyone much, but a steely one next to a buttery, oaked one will. For more structured examples, our beginner’s guide to wine flights breaks down several ready-made combinations.
Tasting order, pouring, and glassware tips
Order matters more than people realize. Pour the wrong way and your taste buds get ambushed by a big red before they’ve even met the crisp white.
Start light, finish full: sparkling or light whites first, then fuller whites, then light reds, then bold reds, saving any sweet wine for last.
Pour small: about one to two ounces per taste is plenty for evaluating, not drinking.
Plan your bottles: a standard 750 ml bottle gives you enough tasting-size pours to cover a small group comfortably.
Decide on glasses: two glasses per person lets tasters go back and forth between wines, while one glass with a water rinse between pours works fine for smaller budgets, a tradeoff wine writers note when glassware runs short.
Serving temperature changes what you taste, not just how the glass feels in your hand. Chilled whites and sparkling wines show brighter acidity, while reds served too warm can taste flabby and boozy, something sensory research confirms applies across wine styles. Our post on why you should chill red wine covers the quick fixes if a bottle’s running too warm.
Pro Tip: Rinse your glass with water between heavily oaked or aromatic wines, otherwise the next pour will taste like a ghost of the last one.
How to taste a wine like you mean it
Every great taster follows roughly the same five moves, and none of them require a wine degree.
See: tilt the glass against a white background and note color and clarity.
Swirl: wake up the aromas by giving the glass a gentle spin.
Smell: take a few short sniffs before one long one, and try to name a broad category first (fruit, herb, earth) rather than hunting for the perfect word.
Sip: let the wine coat your whole mouth before swallowing or spitting.
Savor: notice how long the flavor lingers and whether it changes as it fades.
An aroma wheel helps here because it organizes smells into families like citrus, stone fruit, or baking spice, so you’re not stuck saying “it smells like wine.” Research from Harvard Business School on learning to taste found that structured tools like aroma wheels and tasting grids help beginners encode what they’re tasting and get better at spotting differences over time. Early on, lean on holistic comparisons like “this one feels rounder” or “that one’s sharper,” then layer in specific vocabulary as it starts to click.
Food, pacing, and drinking safely
Plain crackers, baguette, or apple slices reset your palate between pours better than anything flavored, since neutral foods won’t compete with the wine. Save actual food pairings for after the formal tasting, once everyone’s notes are in.
Give each wine a few minutes of real attention before moving on, and keep water flowing the whole time.
Take a short break every two or three wines so nobody’s palate (or head) gets fried.
Spitting is completely normal at tastings and keeps you sharper for the wines still coming.
A standard drink in the United States is 14 grams of pure alcohol, and a 750 ml bottle at 12% ABV holds about five of those. Tasting-size pours add up fast across six wines, so spitting or pacing yourself matters more than it might seem at the start of the night.
Blind tasting, scoring, and keeping it fair
Blind tasting strips away the labels, prices, and reputations that quietly bias everyone’s opinion before the first sip even happens.
Have one person (who isn’t tasting, or is tasting last) wrap bottles in foil, bags, or socks and number them.
Give everyone a simple scoring sheet: a 1 to 10 score plus a few keywords for aroma, palate, and finish, written down before anyone talks.
Let people write their honest impressions first, then compare notes out loud.
Reveal the bottles only after scores are in, and resist the urge to argue about price before everyone’s shared their take.
This order matters because group chatter and price tags shape opinions fast, something sensory evaluation research flags as a real source of bias in casual tastings.
How a guided class speeds up the learning curve
Classroom-tested exercises shortcut a lot of trial and error. Mini flights built around one contrast, aroma-wheel drills where you name a smell family in five seconds, or even sketching a wine’s “shape” on paper all sharpen your sense of what you’re tasting faster than winging it alone.
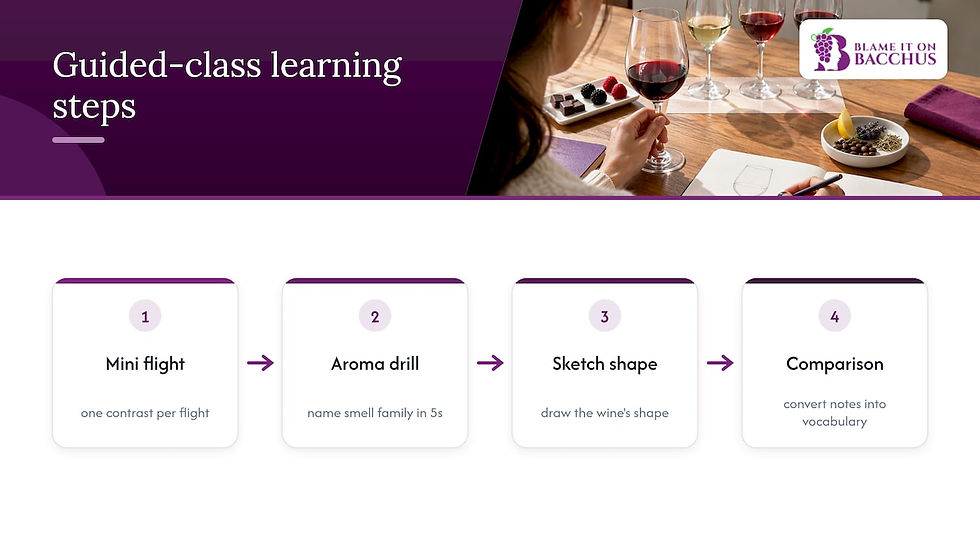
That’s basically what a guided class gives you: the vocabulary and comparison framing built in, instead of you figuring it out bottle by bottle. Blame It On Bacchus runs beginner-focused classes that walk through exactly this kind of structured tasting, so you’re not starting from zero every time you pour.
A beginner’s mindset matters more than a perfect vocabulary
Nobody nails the “right” tasting note on their first flight, and honestly, that’s not the point. Noticing that one wine feels rounder or sharper than the one before it is real progress, long before you can name a single aroma correctly.
Host small, low-stakes tastings often. Curiosity beats correctness every time, and the skill builds faster than you’d expect.
— Thomas
Ready for your next tasting? Let someone else do the planning
Running your own tasting is fun, but a guided class hands you the structure, the vocabulary, and the side-by-side comparisons already mapped out, so you spend the evening tasting instead of researching.

There are beginner classes like The Elements of Tasting and themed Passport sessions covering various wine regions, plus private Guided Tasting and Custom Classes for small groups who want something built around their own crowd. If you’re hosting a bigger gathering, pair the evening with easy wedding welcome party ideas or some simple outdoor party decor for extra polish. Browse the full lineup on the course catalog and pick the session that fits your next gathering.
FAQ
Can I have a wine tasting experience at home?
Yes, a home wine tasting works well with just a handful of wines, basic glassware, and a simple tasting routine. Pick a theme, gather 4 to 6 bottles, and follow the standard see, swirl, smell, sip, and savor sequence for each pour.
How do you do a wine tasting at home?
Set up glasses, water, a spit cup, and tasting sheets, then pour wines in order from lightest to fullest-bodied. Taste each one through the same steps, jot notes using simple categories like aroma, palate, and finish, and compare across the flight once everyone’s tried each wine.
What is the 20 minute wine rule?
The “20 minute rule” is an informal tip suggesting a quick 20-minute fridge chill for a warm red or a 20-minute countertop rest for an overly cold white. It’s a rough starting point rather than a fixed rule, since bottle size and room temperature change how fast wine actually adjusts.
What is the 75-85-95 rule for wine?
This isn’t a standard or widely documented wine-tasting guideline, and definitions for it vary depending on where you encounter it. Stick to extension-backed basics instead, like serving temperature ranges and tasting order, for guidance you can actually rely on.
Sources
Recommended
Comments